- Exciting Dakota Hawk news of new equipment, advancing building project (OSHKOSH 2015???)
- Planning for GJRA Walker Field Airshow
- RedTail P-51 Group showing at CAP (Walker Field, afternoon after our EAA800 meeting)!!!
- Hawk Society may demonstrate the Dakota Hawk build at the above RedTail P-51 gathering at CAP.
- Rumor: Ladd Klinglesmith to show Short Field Takeoff and Landing Performance at EAA AIRVENTURE 2015???
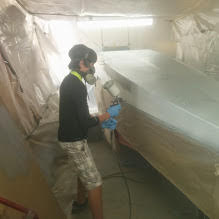
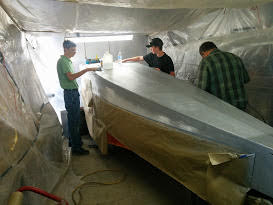
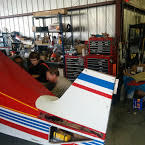
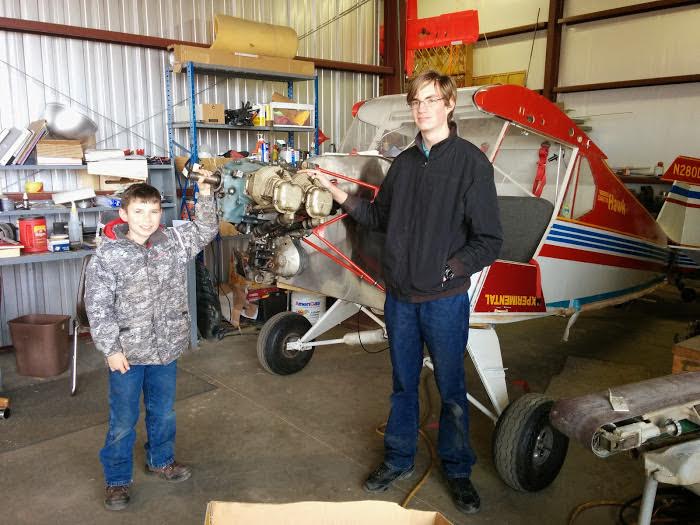
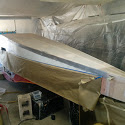
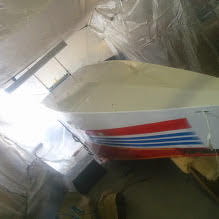
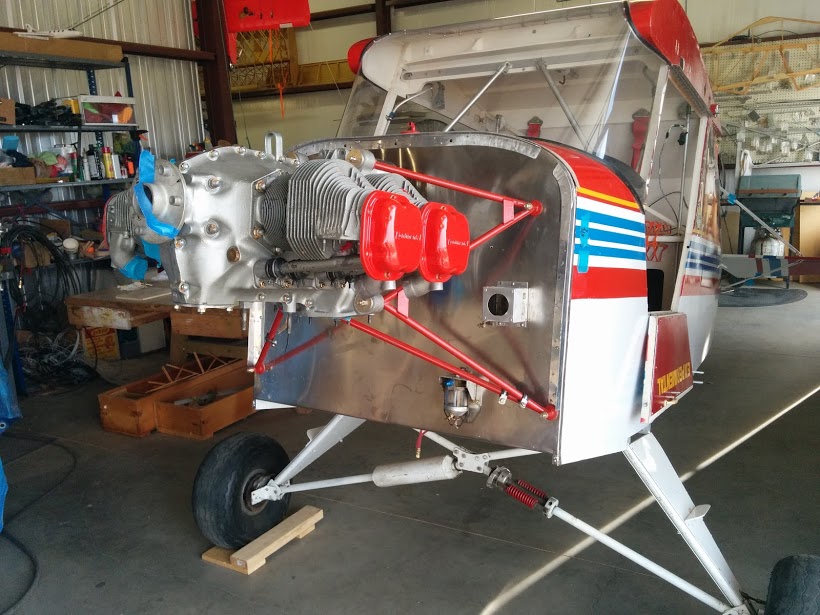
The Dakota Hawk is progressing rapidly. The airplane belly is finished and painted and is on its gear (hopefully permanently). Thanks to Pat and Anthony, it has working brakes (Dual Co-pilot and Pilot) and even a working park brake. Elias, Josiah, Jake, John and Pat installed the new stainless firewall permanently. And the cowl attach brackets Brian made are riveted to the new firewall. Jerry installed the fuel strainer and the cabin heat box. Haley and Anthony worked on the minor patching on the fuselage from past storage and shipping abrasions. The patches will be very hard to find. The tail is almost back on permanently. It will require some tweaking because we apparently do not have the original brackets to attach it at the rear, and the ones off SN 27 do not line up. We need the engine to fit the cowl and cooling baffling.
With the engine next, Bill D, John C, and Jerry managed to come up with enough Hylomar case sealant and Silk thread to Slam the case halves together. I went to Colorado Airparts in Delta and picked up all the hardware needed to put the halves together so we could retire the special aviation section of Ace Hardware nuts and bolts (They can now go back to use on tractors etc.) The correct nuts and intake hoses cost $147.00 (Now I know why the cheap hardware). I forgot the cylinder base seals and one push-rod tube clamp (No Ace hardware hose clamps will be used on this engine) so it will be back to Delta for those. The good news is that the crankshaft end play and cam gear backlash is at new limits. And guess what after the engine case halves were torqued the crank shaft will turn by hand- (This is a good thing because you cannot tow the airplane in gear to break the engine loose.) Also the timing marks line up on the cam gear to the crank gear- this is another good thing and stops all the backfire noise.(Hopefully).
Here is the best part of the week-CHAMPION AEROSPACE donated a complete ignition kit K4520-37BY for the build- This is a pair of new Slick mags, harness and all the spark plugs. I am going to have the kids write thank you letters to Joe Logie and the president of Champion, plus all the other donors. This is by far the largest donation so far short of the airplane, radio and other items donated by Roy Everts. The prop was donated by WestStar and has been ordered.(We are close to flying.) We still need a 150 Carb but can run one the MA3’s we have with a primer installed. Jerry purchase a primer. I ordered new flex-able Stratoflex fuel hose and now have to build them. the hose from the tank to the Fuel strainer is solid aluminum and we are thinking if using a flexible line to do way with the possibility of flare breakage because it is behind the rudder pedals- Which are movable thanks to Pat and Josiah for short kids. We still need an alternator. Anyone have one laying around for an O-200? Preferably a plane power or B&C. We have a vac pump drive B&C 8 amp for sale to help pay for it.
Another really neat donation is from Sky-Tech . Jay Shavel donated a burned up Sky-Tech Lycoming starter to the Chapter. It has been laying around the hanger so I sent it to Sky-Tech for rebuild as it will fit my Mooney and was more junk we were falling over. I explained our build to them and that we had purchased a Sky-tech for the Hawk. They did not charge for the repair. In fact they sent a new Lycoming starter with a 2 year warranty plus decals to apply to the HAWK since we had already purchased one. (this one also cost about $200.00) They want word of mouth advertising. Everyone has been super. Now I have to settle with the Chapter and have the chapter send everyone a donation letter for tax purposes.
We will have a very nice looking well built Dakota HAWK flying shortly with a newly rebuilt 0-200 engine with all new accessories and prop. Try to do that for well under $5,000.00 – I dare you!
And the build continues!
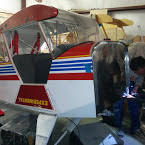
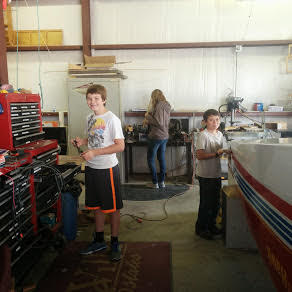
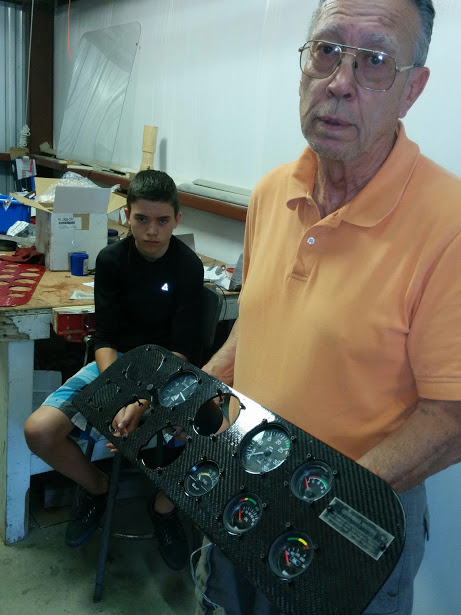
The following picture’s are of some of the build kids: